Preview image. Unlock full-res
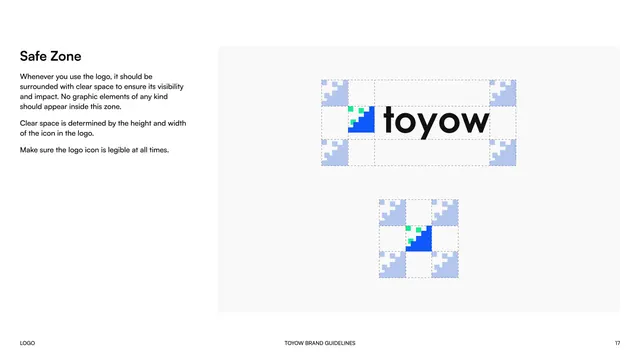
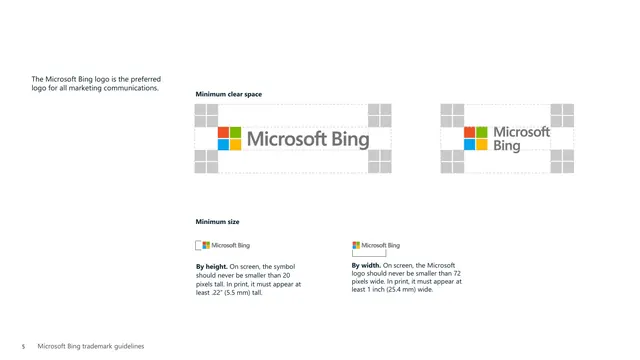
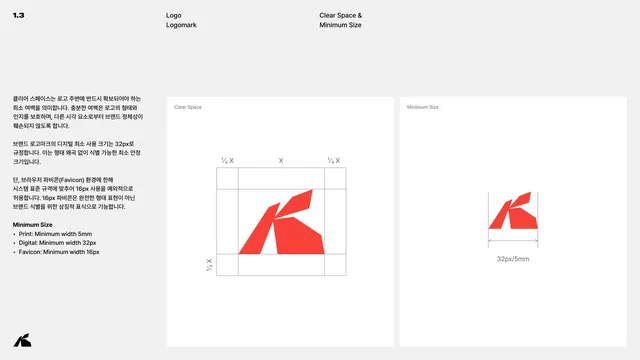
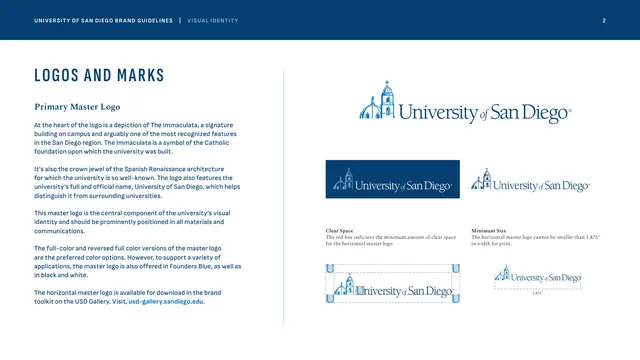
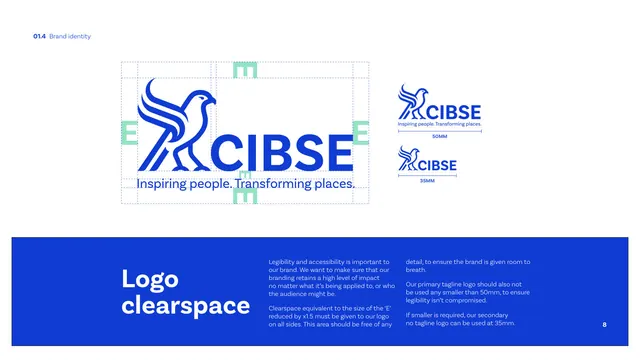
Clear-space rules shown by tiling the icon around the full lockup and the standalone icon to mark the protected zone.
Summary
The Safe Zone page, defining the logo's minimum clear space using the icon itself as the measuring unit.
Visual description
"Safe Zone" is the bold black left label with a short paragraph stating the clear space is determined by the height and width of the icon and that no graphics may enter the zone. To the right, a light-gray rounded card shows two diagrams: the full lockup with faded copies of the icon tiled at each corner and edge to mark the margin, and below it the standalone icon ringed by the same tiled spacing units. Dashed guide lines outline the protected box. Footer with page 17.
Key takeaway
Using the brand icon as the clear-space measuring unit, tiled around the lockup, makes the safe zone self-documenting and proportional at any size.
Reuse notes
Standard clear-space documentation. The icon-as-unit method is the most scalable way to specify margins for a logo.
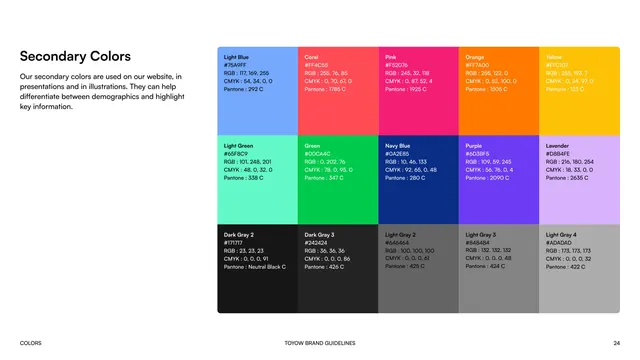
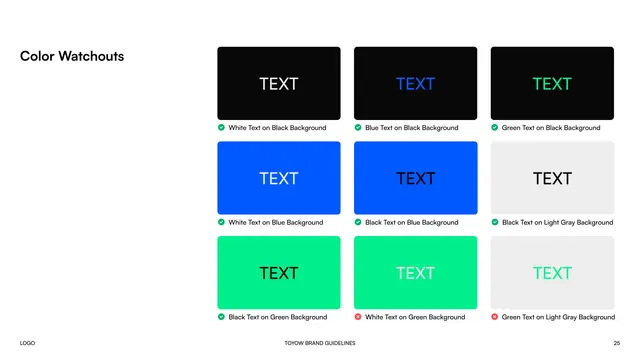
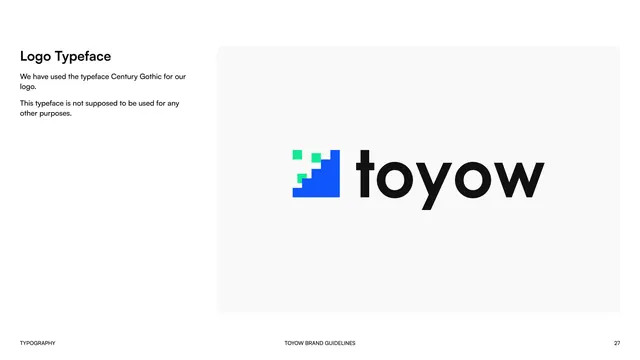
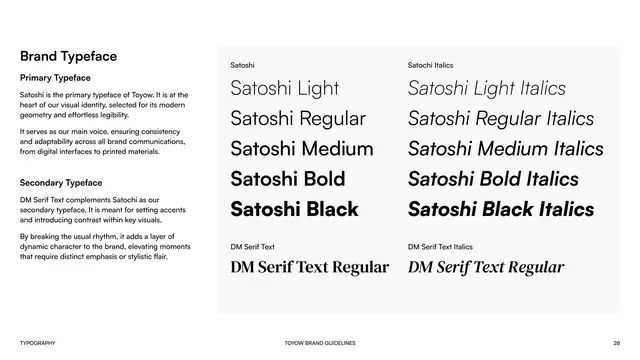
From this deck: Toyow logo safe zone / clear space
View deck





More like this


Keep what you find
A free account saves references to boards and can send you a weekly email of picks based on what you save.
To see every result, go Pro.