Preview image. Unlock full-res
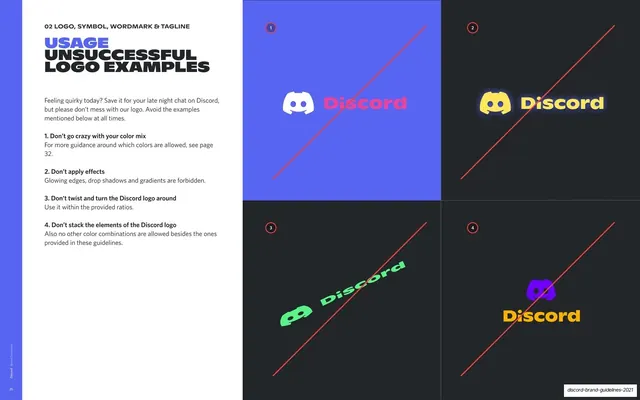
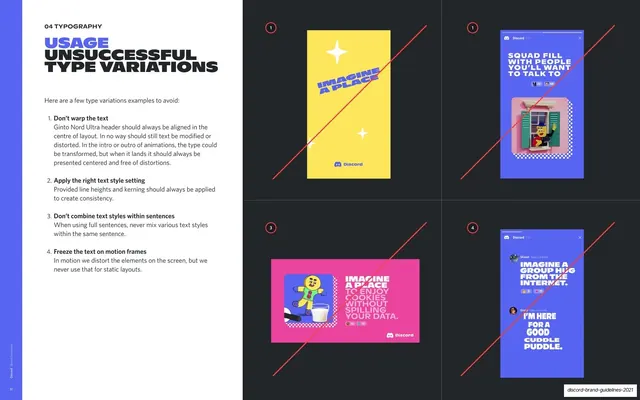
Don't-style logo-misuse spread with numbered text rules beside a 2x2 grid of forbidden treatments, each struck through with a red diagonal line.
Summary
The "don't" counterpart to the successful-usage page: numbered misuse rules on a white page beside four forbidden logo treatments, each crossed out with a red diagonal.
Visual description
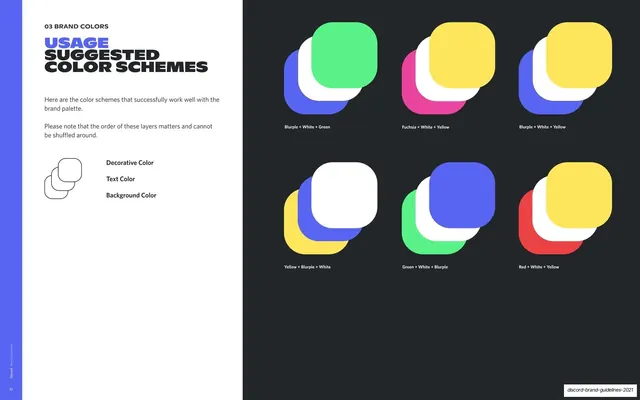
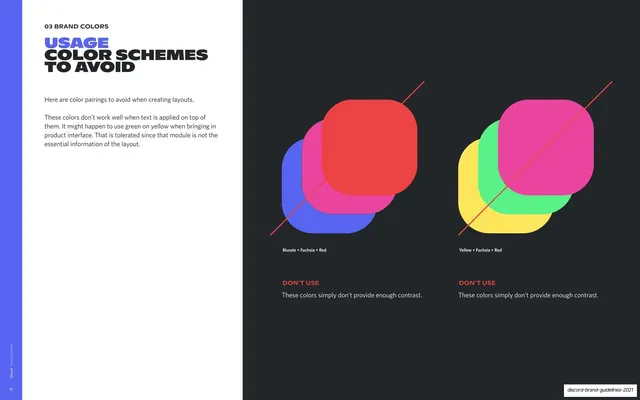
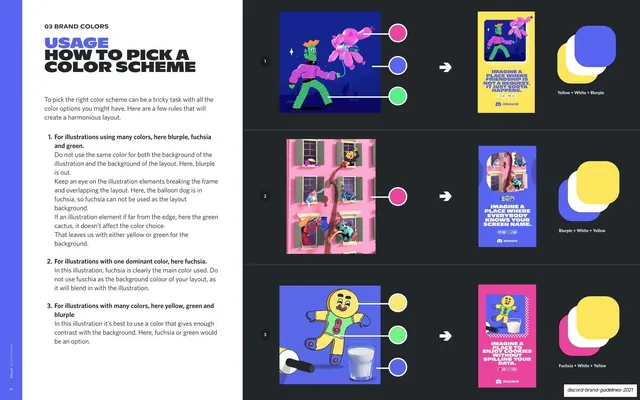
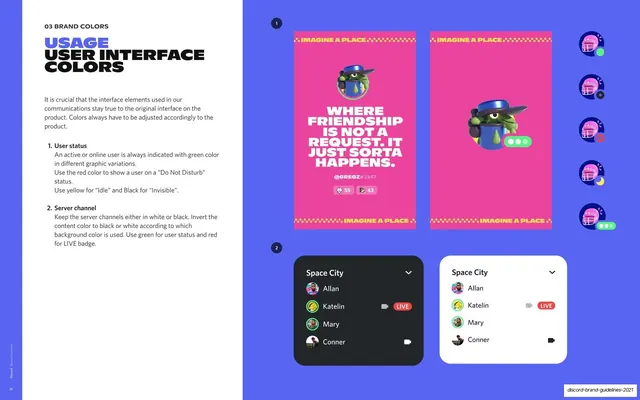
Two-page 16:9 spread. The white left page has the "02 LOGO, SYMBOL, WORDMARK & TAGLINE" eyebrow, a three-line headline "USAGE" (blurple) over "UNSUCCESSFUL" and "LOGO EXAMPLES" (near-black), and four bold-titled rules (don't go crazy with color mix, don't apply effects, don't twist and turn the logo, don't stack the elements). The right page is a 2x2 grid of dark and blurple panels, each numbered and slashed with a thin red diagonal line: (1) blurple panel with a white icon and mismatched pink wordmark; (2) black panel with a yellow logo carrying a glow effect; (3) black panel with the green logo rotated on an angle; (4) black panel with the icon and wordmark stacked and recolored. The far-left blurple stripe carries the rotated caption and page 25.
Key takeaway
The red diagonal strikethrough as an instantly readable "do not" signal across a grid, mirroring the layout of the approved-examples page so the contrast is direct. Each violation demonstrates exactly one rule from the text.
Reuse notes
The standard misuse page for a logo section. Keeping the same grid and panel sizes as the "do" page makes the right-and-wrong comparison obvious. The red slash convention is universal and pairs with the green-number "do" page.
From this deck: Unsuccessful logo examples
View deck



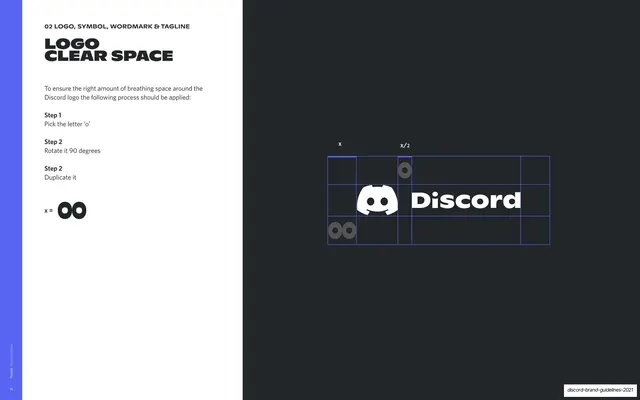
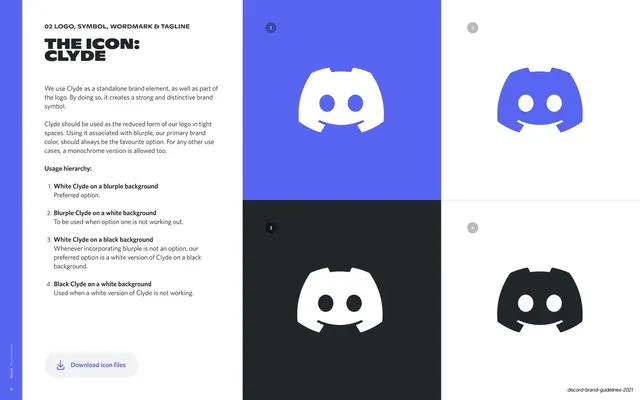
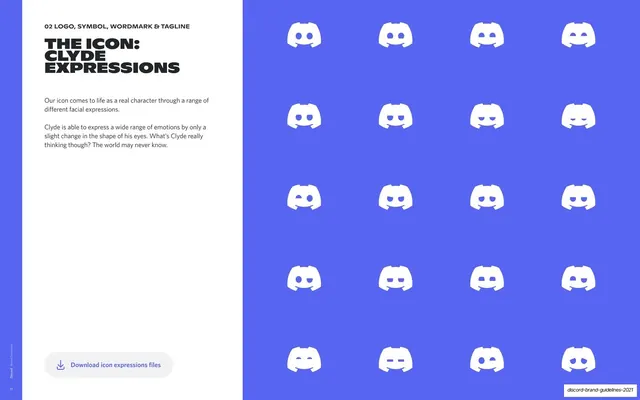
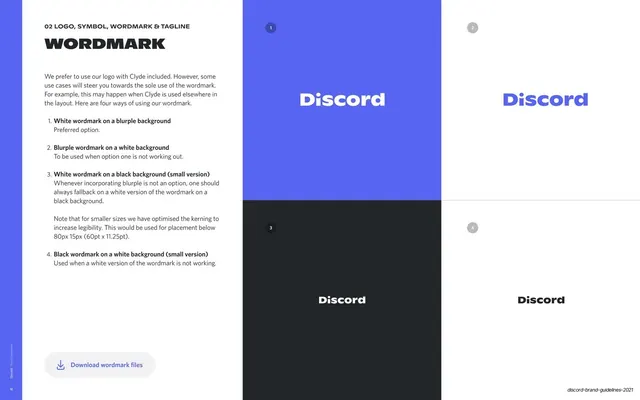





More like this





Keep what you find
A free account saves references to boards and can send you a weekly email of picks based on what you save.
To see every result, go Pro.