Preview image. Unlock full-res
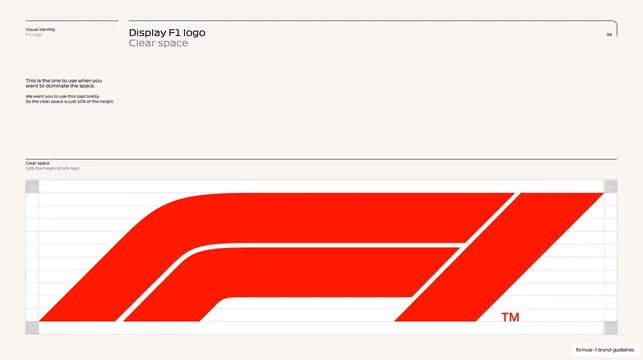
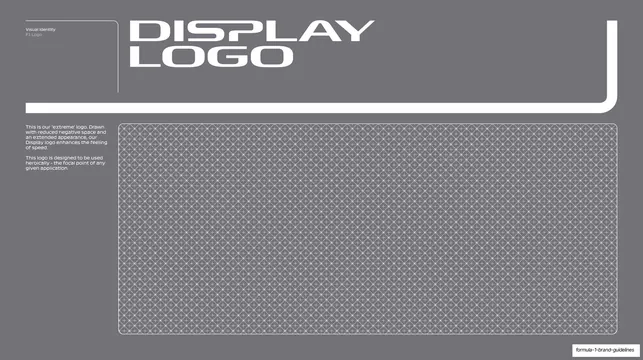
Clear-space diagram on cream showing the extended Display F1 logo filling a measured grid with a tight 10%-of-logo-height exclusion zone.
Summary
The clear-space rule for the Display logo: the extended red mark filling a measured grid with only a 10%-of-logo-height exclusion margin, much tighter than the Standard logo's.
Visual description
Cream (#F7F3EC) page with the running header ("Visual Identity, F1 Logo", "Display F1 logo / Clear space", page 34). The left column states the rule ("use this logo boldly. So the clear space is just 10% of the height"). The lower two-thirds shows the large red Display mark sitting in a thin-ruled measurement grid that spans the full width; small grey "10%" markers sit in the corners indicating the slim exclusion zone, and the mark deliberately runs close to the edges. A caption reads "Clear space / 10% the height of the logo".
Key takeaway
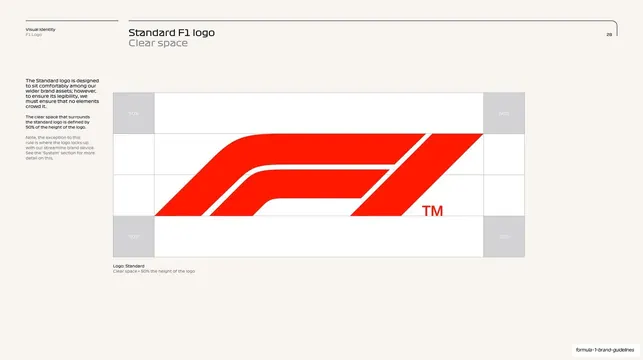
Deliberately specifying a tighter clear space (10% vs the Standard logo's 50%) to encode the Display logo's "dominate the space" intent into the rules themselves. Same percentage-of-height grid method, different value, keeping the system consistent while changing behaviour.
Reuse notes
Useful when a brand wants one logo cut to crowd its frame intentionally. Read alongside the Standard clear-space page to show the two cuts' opposite philosophies. The percentage-of-height grid is reusable at any scale.
From this deck: Display logo clear space diagram
View deck






























































More like this





Keep what you find
A free account saves references to boards and can send you a weekly email of picks based on what you save.
To see every result, go Pro.